A Grandma's spin on crafts, games, recipes & lifestyle

Month: December 2021

DIY Pom Pom Gnomes & More!

While I have always thought gnomes to be cute, I have to say I have not been a gnome collector….until now!  Oh my goodness!  Whether it is because they are simply adorable or that making them has become quite theraputic, I am totally enjoying these DIY Pom Pom Gnomes and More!

A quick search on Pinterest will show you MANY ways of making yarn pom poms.   I have made pom poms over the years for various crafts, and I can honestly say I have tried MANY methods!  However, the one method I refuse to try is using a purchased pom pom maker.  I try to be as thrifty as I can so that is just not an option for me…and mine have still turned out fluffy and full!

Supplies Needed ~

  • yarn
  • scissors (sharp and with pointy tip)
  • serving fork, wooden fork, credit card, or cardboard cut about 1 1/4″ wide X 1 1/4″ wide
  • hot glue gun
  • embellishments for nose:  wooden ball, small stones, pearl balls, etc.
  • toilet paper roll(s)
  • tape (for incidentals)

First of all, you need to focus on your yarn.  Any yarn will work, and I mean ANY yarn.  So what is the difference between the $4.99 yarn and the $7.99 yarn?  There are many differences, but for these DIY pom pom gnomes, it is basically the thickness.  The thicker the yarn, the less it will take to create a full ball.

How to Make Yarn Pom Poms ~

My favorite method for making pom poms is with a large serving fork.  The fork I use is about 1 1/4″ wide.  Some other methods are using a credit card or cutting a piece of cardboard to the exact size you want.  There are truly so many items you can use for this project, this has just been the method I have found I really like.

  • Cut one piece of yarn about 6-7 inches.  Place the yarn as shown in the picture above.
  • Wrap your desired color of yarn around the fork until you get the desired size and thickness.  While you are wrapping, you will leave the one piece of yarn hanging down for later use.

  • I have included a picture to give you an idea of how the pom poms will turn out according to the number of times you wrap.  The smaller ball was wrapped around the serving fork 100 times and the bigger ball was wrapped around the serving fork 200 times.

Continue reading

French Onion Smothered Chicken

Nothing says “cozy meal” more than a warm baked dish of chicken covered in caramelized onions and ooey gooey cheese….lots of ooey gooey cheese.  This French Onion Smothered Chicken recipe pairs well with a dollop of buttery mashed potatoes.  Yum!  Read on for this amazing family recipe that even the kids can’t get enough of!

Caramelized onions are such a wonderful addition to so many meals.  In fact, I have posted other recipes on my blog in the past.  Recipes such as Grilled Caramelized Onion, Apple and Canadian Bacon Flatbread, (which can be prepared on grill or stove top) and Caramelized Onions and Provolone Cheese Stuffed Chicken Breasts, are both delicious recipes!  If you haven’t worked with caramelized onions much, you will be amazed at the aroma that consumes your house when making this fantastic recipe.

Steps for French Onion Smothered Chicken ~

Preheat oven to 350°.

Wash your chicken breasts and pat to dry.  Brown chicken breasts in olive oil (or oil of your choice).  If your chicken breasts are large, cut through them lengthwise to make thinner cutlets.  Season both sides of chicken liberally with salt, pepper and McCormick’s Montreal Chicken Seasoning.

We prefer crispy edges, so I brown chicken longer to achieve this bit of crunchiness.  The amount of time needed to brown your chicken will, therefore, depend upon the amount of crispiness you or your guests prefer.  I have found that many people like a bit of crunchy around the edges.

While Chicken is Browning ~

One of the best smells when cooking is that of caramelized onions.  Yum!  If I close my eyes, I can bring that smell to my mind any time…they are just that amazing!  I mentioned this earlier, but seriously….it is the best!

You will need to slice 4 medium onions.  This can be done to the thickness you prefer.  Melt butter in a separate skillet from the chicken.    Place sliced onions in butter and cook until browned and soft, stirring occasionally.  This will take 10-15 minutes.  They will have a rich dark brown color when finished.

Spray your baking dish with cooking spray.  Place browned chicken in bottom of the dish.  Sprinkle one packet of Lipton Recipe Secrets Onion Recipe Soup & Dip Mix all over browned chicken.  **I always keep a couple of Lipton Onion Soup and Dip Mixes on hand….it literally comes in handy for so many recipes.

Once Onions are Caramelized ~

Once the sliced onions are cooked through, add beef broth and balsamic vinegar.  Cook this mixture on medium until it is slightly thickened.  This gives you that wonderful caramelized onion taste.

Remove the caramelized onion mixture from heat and gently pour over the chicken.  **I added some extra beef broth to ensure there would be ample “onion gravy” to pour over the mashed potatoes as well.  In my opinion, there is never enough gravy!

Completely cover with shredded mozarella cheese and bake for about 30 minutes or until cheese has a nice browned texture.  **You can mix shredded parmesan cheese in to for a slightly different flavor.  Honestly, so many different cheeses could be substituted here, but we do love melted mozzarella!

Serve warm over a dollop of buttery mashed potatoes.  I love to make homemade mashed potatoes, but if you are in a pinch for time, you can’t go wrong with Bob Evans Refrigerated Mashed Potatoes.  Have you tried these yet?  Wow!  They are delcious and so very much like homemade!

Other Side Dish Options ~

As stated earlier, the french onion smothered chicken pairs very well with mashed potatoes.  However, there are many other sides that would complement this yummy dish as well.

Garlic Butter Rice by Hinz Cooking is a delicious option.  This is a simple side dish that is loaded with flavor and only uses several ingredients.  Another easy, yet flavorful side dish option is garlic parmesan roasted broccoli  by Easy Family Recipes.  This is a another wonderful dish with only a few ingredients.  An extra bonus with this recipe is that it is low carb and gluten free!  A third side dish idea is creamy garlic parmesan orzo by The Carefree Kitchen.  I have become a HUGE fan of orzo…have you cooked with it?  These are just a few delicious side ideas, however, the beauty of this meal is that so many sides would pair nicely with it!

This savory dish is most definitely going to become a family favorite.  Even if someone doesn’t like onions, this will many times still appeal to them.  A caramelized onion is such a different flavor from a raw or slightly cooked onion.  Enoy!


Happy cooking~

Mimi

Christmas Cookie Party

Can you smell that?  The cozy scent of warm cookies filling the whole house?  One of my favorite holiday activities is making and decorating Christmas cookies.  When my kids were younger, they would each invite a friend over for a day filled with creating Christmas cookie masterpieces as well as playing fun Christmas games.  Fast forward to 2021, these kids are now adults and yet we still get together every year for a Christmas Cookie Party!

Roll Out Cookie Recipe ~

Click Here to Print Recipe of Roll Out Cookies

In the early days I had a fun-filled day planned for all of the kiddos.  Memories of all of the kids rushing in after school all excited about the day’s events are still crystal clear in my mind!  The cookies would already be baked and placed all around the table.  Bowls of brightly colored icing  scattered all around within reach of their little hands.  Next come the paint brushes…you know the ones?  The inexpensive pack of multi-colored kid’s paintbrushes.  These served as the main decorating tool.

The Paintbrush Rule ~

If you ask any of those little bakers today, you will know the golden rule of cookie decorating.  The purple paintbrush goes in the purple icing bowl, the green paintbrush goes in the green icing bowl, the yellow paintbrush goes in the yellow icing bowl….you get the picture!  This keeps our colors fresh.    I guarantee you that when these said kids (now adults) read this they are laughing, as I am a stickler for this rule!

The small multi-colored paint brushes just like these work perfectly!


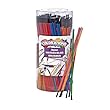
While I have included an easy link for you, I honestly try to gather the paintbrushes whenever I see them at the local Dollar Store or department store.  It is sometimes hard to find all of the colors you need, but collecting them over time usually proves to be successful…as long as you remember where you have stored them! 😉

Small ramekins like these are used for the many icing colors that they insist we have…ok, I insist too! 😉


The four primary colors are definitely not enough for this festive day!  You will need a lot of small bowls to make all of the icing colors requested.  It is much more fun if you let them create just the perfect shade of each color.  Once again those memories come rushing in, “Do you think this red is bright enough?”  “Should we do dark purple or light purple…or both?”  “Did someone make black…we need lots of black!”  “Ooooh, what about gray?”


The icing recipe itself is simple.  We have tried different recipes but have finally all decided this simple recipe is our favorite.  Printable version of the simple, but oh so good, icing recipe can be reached right here!

Cookie Cutters ~

We all have our favorite cookie cutter.  I continue to add new ones to the mix, but nothing melts my heart more than when I hear, “Wait a minute, did you make any snowglobe cookies?”  “Does anyone have a Christmas tree cookie they can share?” “What was this one??  A penguin, oh yea!”

Yes, sometimes the cookie shape is hard to tell what it is until you bring it to life with some color!  Other times they get broken and still get turned into a major work of art…thanks to Ali!  No, we do not have a Starbucks cookie cutter, but somehow she made the perfect latte cookie!

If I had to choose, I would say the snowglobe is one of everyone’s favorites…

It has been so much fun to watch their artistic ability change over the years.  However, no matter how beautiful they are, the taste is always the same…..delicious!  We are always careful to make an abundance so that everyone has plenty to take home and share….and to sample along the way.

When this tradition first began, the kids would start the afternoon out icing the cookies.  We would then move on to Christmas scavenger hunts and Christmas Bingo.  These activities ended with lots of festive prizes, of course.  I would send the kids home hyped up on sugar but exhausted from a fun-filled day!

The tradition has now moved to evenings as we have to schedule our Christmas Cookie Party around work schedules (that damn adulting thing always interferes!  😜).   We have a Cookie Crew text group that gets busy at the end of November working on the current year’s date.  The phone goes ping, ping, ping and voila…we have a date!  Now they all roll into the house with bottles of wine and fun Christmas gifts to share before we get to decorating!  Oh, did I mention the food?  Yes, we now have lots of savory appetizers as well.  Now instead of me sending them off exhausted and with full bellies the exact opposite happens….oh how the times have changed!

New Decorating Tools ~

*This site contains Amazon affiliate links.  When you buy through any of these links, I will receive a commission at no cost to you.  Thank you for supporting my small business and allowing my blog site to continue to bring you fun & valuable content!

We have recently upped our decorating game.  As Ali put it best, “Oh Shel, this is a game changer!”  The addition of squeeze bottles brought a whole new way of decorating to our Christmas Cookie Party fun!  Wow, these are so much fun and allow for more precise decorating.

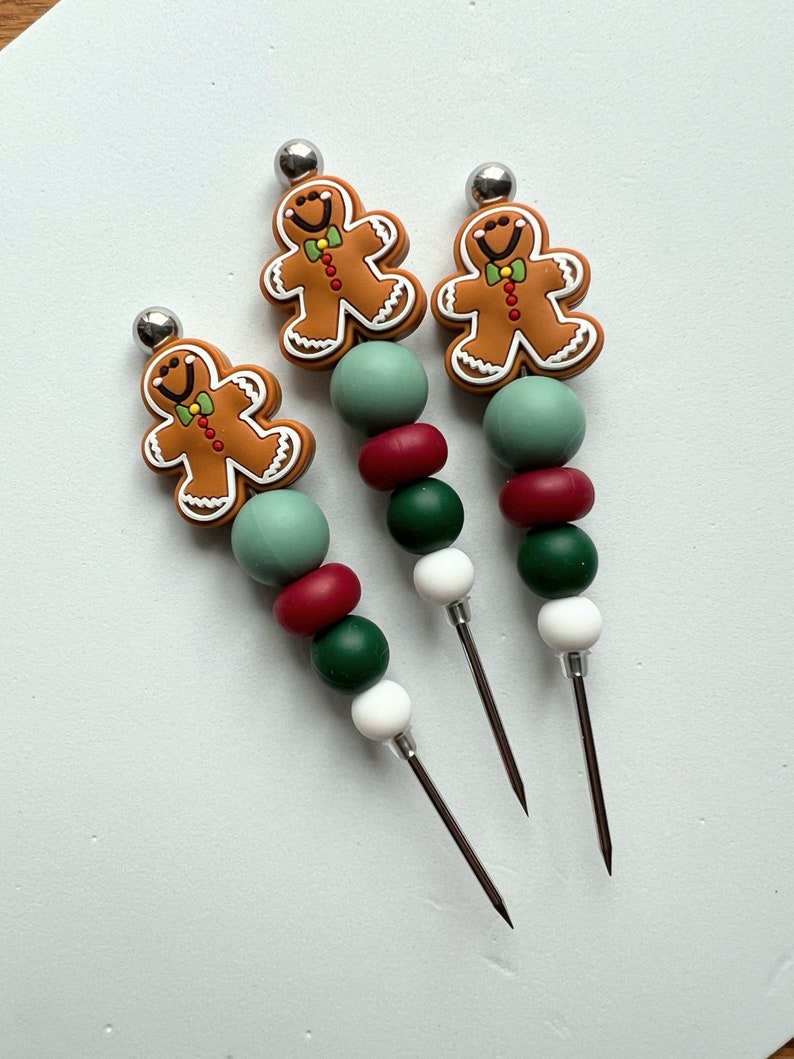
A cookie scribe is a pointy tool that is used to redistibute icing and make fun swirls on glazed cookies.  The ones below have cute snowflakes on the top for a Christmas theme.

There are also some super cute decorating scribes on Etsy too!  These festive gingerbread scribes by Equinox Pastry Supply are a definite plus for any cookie decorating party!

Addi demonstrates for us…

As the years go by, we add new little ones to the crew and continue making wonderful memories.  Had I known years ago how special this tradition was going to be, I would have urged others to do the same!

One thing I know for sure is that these girls will continue this tradition and that makes me a very happy Mimi!

Photo Gallery of More Recent Years ~

(Some year I will go back to my old files to add pictures from the younger years!)


Now everyone get out there and get to baking…..enjoy your Christmas season!  And to you, my precious Christmas Cookie Party crew…I love you…thank you for all of the wonderful memories…and cheers to many more!

Much love~

Mimi


P.S.  Check out a similar post I wrote about this last year (with less details), however there are some of the fun cookie cutter links included in this one!