It’s almost here again….HALLOWEEN! I love everything Halloween….and if you are reading this, that means you do too! YAY! I get mesmerized each year when new and fun decor comes out in the stores, but I also LOVE making my own ghostly decor so that my house is unique. This year I bring you 3 Ghostly DIY Crafts for Halloween….let’s go!
Ghosts in Frames ~

Items Needed:
- Different sizes of frames
- Black cardstock – plain or glittery
- Various colors craft paint
- Craft paintbrushes
- Scissors
- Glue stick
- Black marker
Easy peasy guys…you can either trace a ghost on an old book page or paint your own little ghost on a piece of black cardstock. Cut your cardstock to the size of your frames. You can, of course, use scissors, but I much prefer to use a paper cutter to get it the correct size with nice straight edges. Below is the one I use.
DISCLOSURE: This site contains product affiliate links for Amazon and other companies. We may receive a commission if you make a purchase after clicking on one of these links. Thank you for supporting my small business!

Next, decide if you want to paint your ghost or cut it out of an old book page. Or…maybe you wanna do a couple of both! A quick Google search of ghost images will get your creative juices flowing. I drew my own, but you can also use a stencil or cookie cutter. If you choose to use an old book page, once you have drawn your ghost, cut it out and glue it on the cardstock. For painting, I would suggest drawing the ghost first and then painting.
Once you have created your ghost, use your marker to draw eyes and a mouth if you wish. It’s fun to make different faces for each one. Next put your cardstock in the frame. Seriously guys, one of the easiest and cutest Halloween decorations…and very unique!
Ghostly Candle Tapers ~

There are a lot of ghost candle tapers in the stores, but why not create your own whimsical candle? Another super easy Halloween craft that uses minimal supplies!
Items Needed:
- White candle tapers
- Baking dish (long enough to fit candles in)
- Hot water
- Black marker
I purchased the box of white candle tapers below to make my ghostly candles. I knew I wouldn’t use them all, but I know some more fun crafts will be coming later to use them.

Add some very hot water to your pan. I used a casserole dish so it could be a little deeper. Place a candlestick in the hot water and let it soak a bit. This will soften the wax so that you can mold it to your desired shape. Plan on letting it soak for at least 15 minutes.
Once the candle feels malleable, remove it from the water and dry off a bit. Start shaping the candle to your desired shape. If it breaks, you can cut it off at the crack and just make a smaller candle. I also glued one that I broke. Work slowly…this is the key. The more patient you are, the better it will turn out. If needed, place it back in the water to resoften it.
Once you have achieved your desired shape, draw a ghost face on it and you are done! *The water will have wax residue in it, so don’t empty it in your sink….we don’t want clogs!
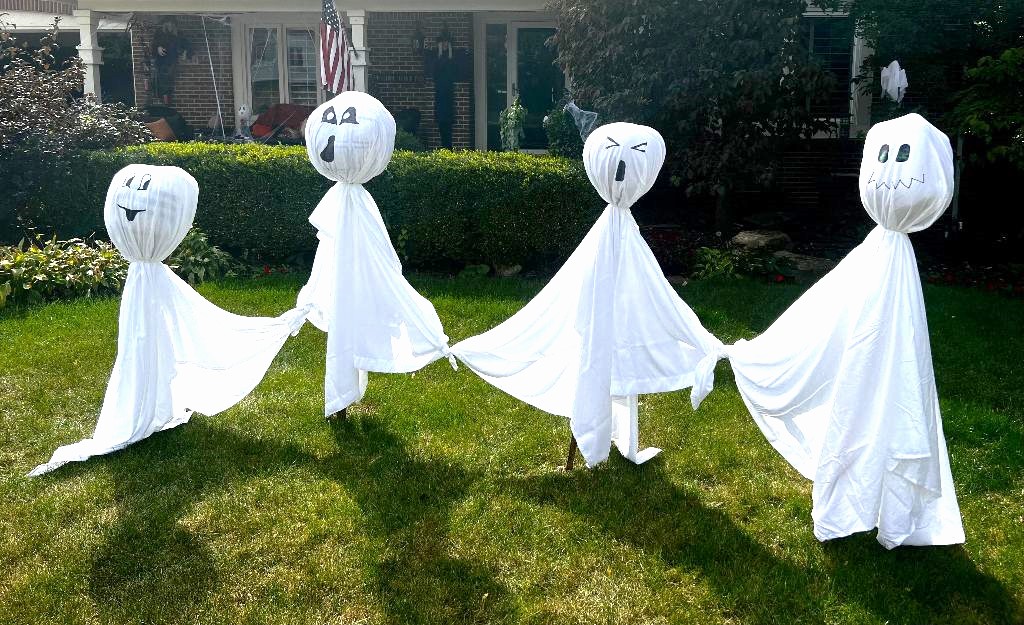
Fabric Ghosts Table Decor ~

Items Needed:
- Fabric – different types you can use: cheesecloth, sheer, burlap, cotton
- Scraps of fabric (about 15″ long) in various holiday colors
- Ribbon
- Wooden dowel rods
- White foam balls
- Wooden base with hole the size of the dowel rods OR small bud vases
- Black marker
- Jute
Choose the size of dowel rods you want to use. Below are the ones I used. Once again, I bought a larger pack because I know I will be creating some more holiday fun with the extra supplies. For the white balls, I ordered a pack with different sizes to create various ghostly heads.


Push one dowel rod through the white foam ball until it is snug on the rod. Then place the dowel rod (with head on it) into the base. You will need two different fabrics to create the body. A solid one for the first layer, and a sheer or gauzy type for the top layer. I draped the material (uncut) over the “ghost body” to determine how long I wanted each layer to be. Cut the fabric to desired length.
Layer the non sheer fabric over the foam ball. Next, layer the sheer fabric over the top. Tie the jute directly under the foam ball. I used a long piece of jute so that I could create a bow, however, you can cut it shorter as well and just leave the jute hanging down the front of the material as well.
Next, either rip or cut small cuts in various places around the sheer material to give it a “tattered” look. You can also rip from the edges to give it a frayed look. Tie various strips of cut material or ribbon under the jute, letting it hang down the front of the ghost. Draw the face over the top of the material. Now how cute are these little guys?
Other Fun Halloween Crafts ~
Ok, now your creative juices are flowing right? Here are some other fun ideas for you to craft! Enjoy!
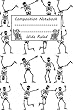
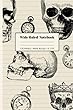
You’re going to love making these Halloween Spell Books!

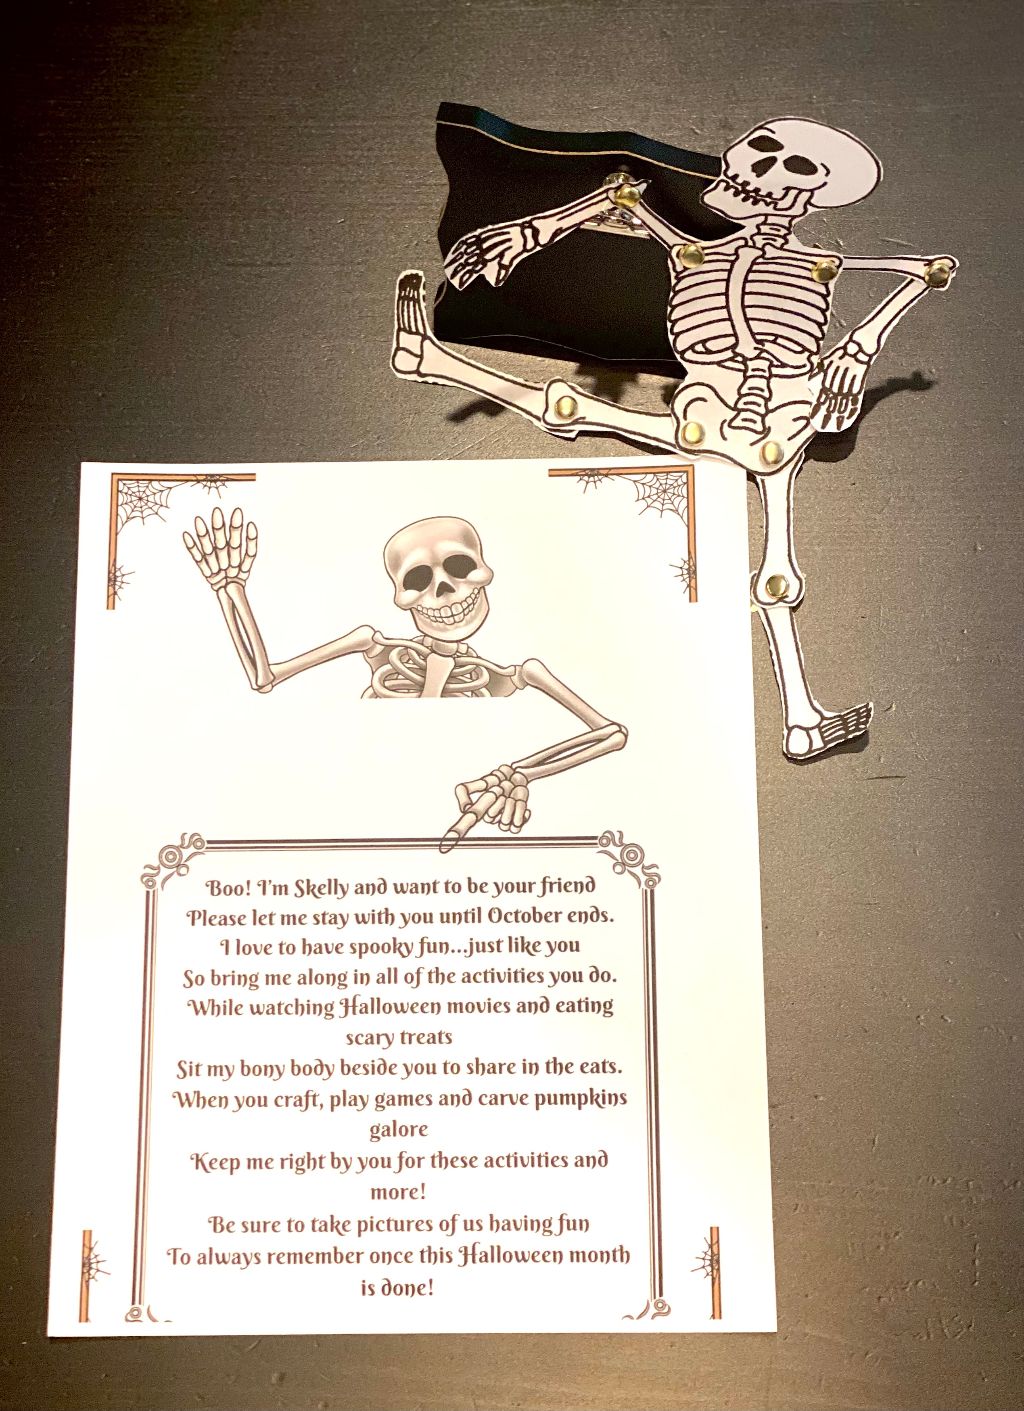
Here is a fun yard skelton…very unique! Meet Mr. Bones!

Do you have some fun DIY Halloween craft ideas to share? I would love to see them….let me know all about them in the comment section below!
Happy Crafting My Friends ~
Mimi


 (pic included for reference…use the green link above for printable version)
 (pic included for reference…use the green link above for printable version)
 (brad’s are two pronged paper fasteners). Here is a handy link if you need to order some brads ➡️➡️