A Grandma's spin on crafts, games, recipes & lifestyle

Category: Desserts

Red Velvet Cheesecake Cookies

If you are anything like me, you are always working with different cookie recipes….all year long….but incessantly during the holidays!   We always love our tried and true recipes over the holidays ~ iced Christmas cookies, lemon bars, skillet cookies, homemade fudge, snowball cookies, and nut cups are some of our favorites!  However, we also love to add new recipes into the mix.  The Red Velvet Cheesecake Cookies are one of the additions this year….and they are amazing!

Don’t you just love the aroma that fills the whole house when you are doing holiday baking?  You can close your eyes and it takes you back in time….helps you to remember all the years of Christmas past.  I always loved when my kids were small how their little faces would light up with all the festive goodies.  Now we get to watch our precious grandchildren experiencing all the same “feels.”

Red Velvet Cheesecake Cookies Ingredients ~

For the Cookies ~

1 cup butter, softened

1/2 cup brown sugar

pinch of salt

1 egg yolk

1 tsp vanilla extract

2 cups flour

6 tsp red food coloring

2 tsp cocoa powder

1/2 cup granulated sugar/sanding sugar/coarse sugar (your preference)

For the Filling ~

8 oz cream cheese, softened

2 egg yolks

1/2 cup sugar

1/4 tsp salt

1/2 tsp vanilla

Instructions ~

Preheat oven to 300°.  Prepare baking sheet by lightly spraying with cooking spray or line it with parchment paper.

Mix the butter, brown sugar, egg yok, salt and vanilla until thoroughly mixed and fluffy.  Add in the food coloring and blend until just mixed (don’t overmix).  Add flour and cocoa powder until soft dough is formed.

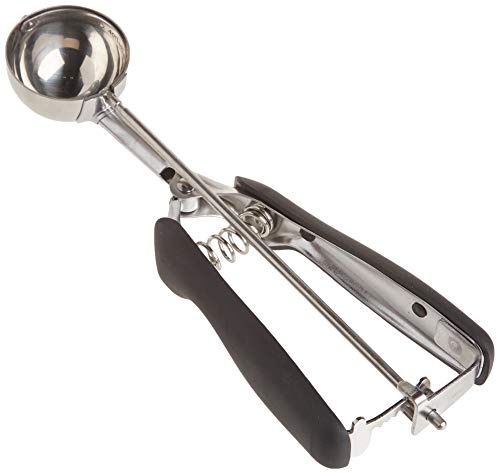
Roll tablespoon size dough balls (or use cookie scoop) and then roll in sugar before placing on baking sheet.  Use back of spoon or cookie scoop, gently make a small indentation in each ball of dough.

Bake for 8 minutes.

While first batch is baking, mix softened cream cheese, egg yolks, sugar, salt and vanilla until smooth.

Remove cookies from oven and make another indentation a bit deeper to form a good well in the cookie.  Pour cream cheese mixture into the well of each cookie.  Bake for an additional 12-15 minutes, until filling is set.

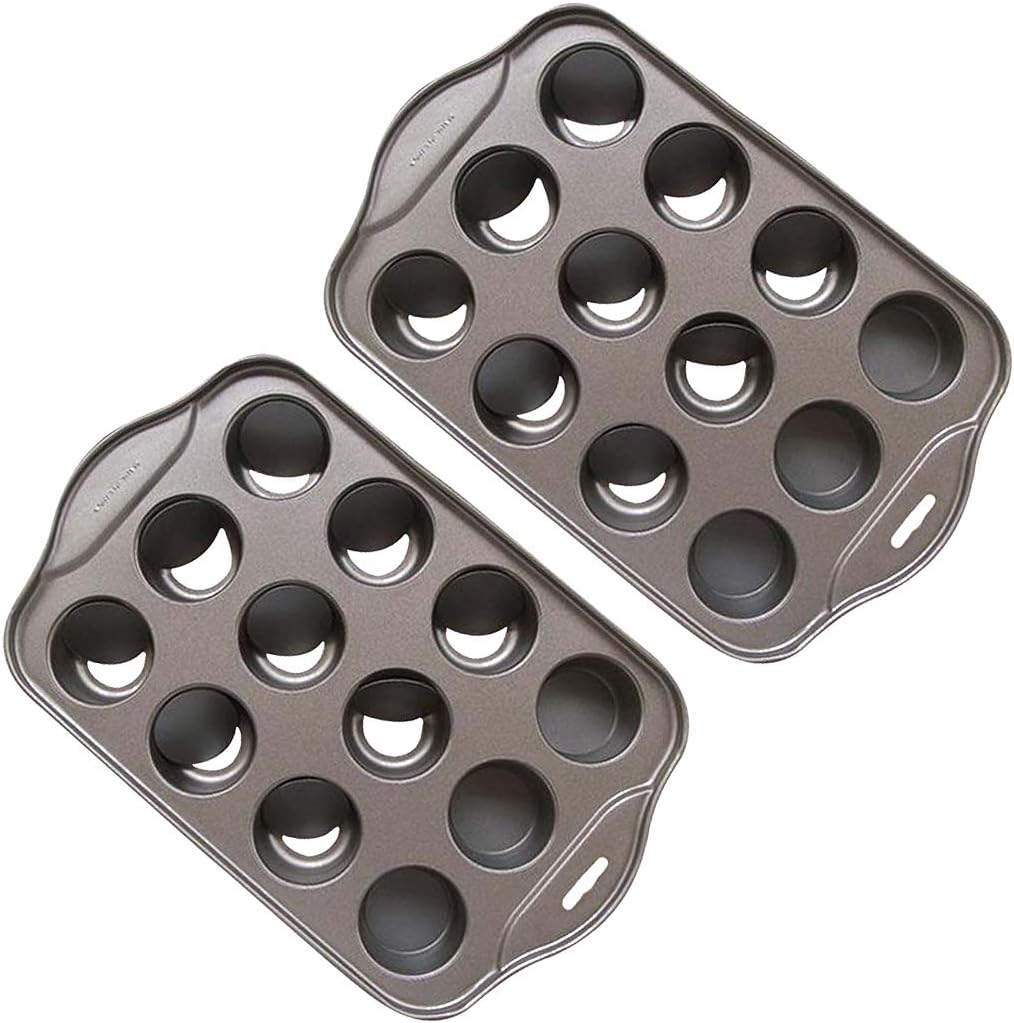
(This handy gadget above is one of my favorites from Pampered Chef!  Check out Rose’s website for this and more awesome kitchen gadgets!

Let cool before serving.

Tips ~

→Using sanding sugar or course sugar to roll cookies in gives a bit more of a “sparkly” finished texture.  These sugars don’t melt as much in heat.  For an extra festive touch, use colored sugars.

*WHEN YOU MAKE A PURCHASE THROUGH MY LINKS I MAY EARN COMMISSIONS FROM AMAZON OR OTHER RETAILERS.  YOU CAN LEARN MORE ABOUT MY EDITORIAL AND AFFILIATE POLICY HERE!  THANK YOU FOR SUPPORTING MY SMALL BUSINESS!

Red and Green Sanding Sugar - 4 oz Resealable Stand Up Candy Bag -Christmas Themed Sanding Sugar for Baking and Decorating - Topping for Desserts and Snacks
$9.99
Buy Now
This site contains product affiliate links for Amazon and other companies. I may receive a commission if you make a purchase after clicking on one of these links. Thank you for supporting my small business!
02/19/2024 01:41 am GMT
Edible Red Sanding Sugar Sprinkles Cupcake Cake Toppers, Celebrations Candy Pearls Shaker Jar Wedding Party Cake Dessert Food Decoration Supplies 3.2oz(Red)
$8.99 ($8.99 / Count)
Buy Now
This site contains product affiliate links for Amazon and other companies. I may receive a commission if you make a purchase after clicking on one of these links. Thank you for supporting my small business!
02/19/2024 02:31 am GMT

→Using a cookie scoop ensure same size dough balls which helps to ensure that the cooking time needed is the same for all cookies.

→Be careful when making indentations to not push too hard.  You do not want it to go completely through the cookie.  You need to have enough cookie dough underneath to hold the form of the cookie.

→Do not over bake these cookies.  Cook just long enough that the filling is set.

→Let cookies cool 10 minutes before moving to serving platter.

→Be sure to refrigerate leftovers!

Occasions for Serving ~

Of course, Christmas is a perfect time to serve these little cookies that not only look festive but taste absolutely delicious.  However, don’t store this recipe just under Chrismtas baking.  Valentine’s Day is just around the corner.  These will make the perfect touch to any Valentine’s Day spread!

Do you throw an Oscars Red Carpet party?  Oh my goodness, how perfect will these be for that night?  Any red carpet night deserves some red velvet cheesecake cookies.  Don’t forget birthday parties and anniversaries.  These little gems are perfect for numerous occasions!

Are You a Red Velvet Fanatic? ~

While these cookies definitely need to be on your baking list, there are so many other delicious  red velvet recipes out there.  I am a huge Southern Living fan and this post on Southern LIving with 22 red velvet recipes definitely deserves to be looked at!  There are so many wonderfully decadent recipes in this link!

For now, there are still definitely enough days to make these delicious cookies for this year’s Christmas and/or New Year’s celebrations.  I know there will be more batches made in our household along with our traditional favorites!  What are some of your tried and true recipes?  Would love to hear about them!

Happy Baking My Friends ~

Mimi


Mini Mint Chocolate Cheesecakes


At this very moment I don’t know if I am more excited about these little delicious bites of heaven OR the fun new pan that I have discovered to make them in!  Eeek!  Too much fun….and the ideas are swirling in this old head!  For now, we will focus on this amazing little recipe of Mini Mint Chocolate Cheesecakes!

Not only were these the perfect little St. Patrick’s Day treat, but they would also be delightful any time of the year!  The yummy mix of chocolate graham cracker crust with minty flavored cheesecake filling topped with chocolate….WOW!   Do I have your mouth watering yet?  (Mine is, I’m thinking I’m going to need to make them again today! 😊)

Mini Mint Chocolate Cheesecakes Ingredients:

  • Non-stick Baking Spray
  • Chocolate Graham Crackers
  • Cream Cheese
  • Sugar
  • Butter
  • Egg
  • Mint Extract
  • Green Food Coloring
  • Andes Mints
  • Chocolate Syrup (or ingredients for homemade chocolate sauce included below)

Mini Cheesecake Pans:

As an Amazon Associate I earn from qualifying purchases.

Let’s talk for a minute about that fun little pan I mentioned earlier.  Seriously, this is a game changer for those who love to bake!  Use this link to get your own Mini Cheesecake Pans….I guarantee you that they will quickly become one of your favorite baking items ➡️➡️Click Here to Get Your OWN Mini Cheesecake Pans

Seriously, how fun are these???  Place the discs in the bottom of each pocket before assembling, bake, cool, then pop those discs out for a perfect finish!  No more trying to dig your baked items out and cursing as you crumble one or two along the way!  What’s even better is you can use these for sweet OR savory bite size goodies!

Are These Easy to Make?

Yes, Indeed!  You basically have four steps:

  1. Make the chocolate graham crust.
  2. Blend ingredients for the minty cheesecake filling.
  3. Pop them in the oven to bake.
  4. Once cooled, top them with your favorite toppings!

I would like to take a minute to discuss fear of making cheesecake…and it turning out!  I’ve been involved in many discussions over the years where everyone talks about the “fear” of the springform pan….me included!  While that dreaded springform pan really isn’t as bad as it seems, let me reassure you that this mini cheesecake pan is incredibly easy!

Tips on Making and Forming Crust:

It is very easy and mess-free to use a large zip lock baggie when making the crust.  Place your graham crackers in the bag, seal, then use rolling pin to obtain a crumbly consistency.  *This is a very good job to let the kiddos hep with!

When forming crust in the cheesecake cups, I like to use a pastry tamper.  I got mine from Pampered Chef years ago (another one of my all time favorite tools), but you can also get them at most stores or on Amazon.  A lot of my kitchen gadgets, baking stones, cookware, bakeware and small appliances are from Pampered Chef…they are such good quality!  Check out Rose Berg’s Pampered Chef page for all the latest fun items!

Pastry Tamper      

I also use a pastry brush to help brush the crumbs back into the cups, as you will certainly find you get some crumbs on the top of the cheesecake pan as you are forming your crusts…and you don’t want to be a messy cook! 😉

Topping Ideas:

    • Andes mints (these just look super cute and classy!)
    • Thin mint cookies (who doesn’t have an extra box of Girl Scout cookies in their freezer?)
    • Oreo mint cookies
    • Chocolate syrup
    • Chocolate Sauce …  I have used Lemon Tree Dwelling recipe and love it…Check out this AMAZING homemade chocolate sauce by Lemon Tree Dwelling…yum!
    • Chocolate sprinkles
    • Chocolate chips
    • Cookie crumbles
    • Mint sprigs (oooh…fancy!)
    • Easter is around the corner….try Hershey’s Egg Shaped White Chocolate Baking Chips 
    • (I included the link above to Amazon for easy access, but I find a lot of fun baking products at WalMart…so be sure to check them out!  They usually carry pastel colored baking chips which would be fun!
    • M & M’s (holiday colored or plain)

Basically, the options are endless for how you can top off these mini mint chocolate cheesecakes…just be creative and have fun!

I promise you the WOW factor of this little recipe far outweighs the work you have to put into making them.  I guarantee you that your guests will be coming back for seconds…or maybe even thirds!

Added Bonus:

How often are you looking for a recipe that you can make ahead and pull out when the guests are on their way?  Well, here is that recipe you have been looking for!  Keep these babies in the refrigerator and place on your serving platter.  Top them with your favorite toppings just a bit before your company arrives!  No last minute mess or fuss!

I look forward to hearing your thoughts!  Happy Baking!

Mimi

Rum and Coke Mini Desserts

As a child, we had dessert every night after dinner.  Some were simple, like Jell-O with whipped cream while others were more intricate desserts.  I loved when mom made Coca Cola cake with chocolate fudgey icing.  It was so delicious!

However, I don’t remember mom adding those cute little rum bottles on top….hmmmm!?!  Well, it may not be a family dessert, but these rum and Coke mini desserts are definitely one to add to your entertaining menu!

I used a variety of glasses to make the presentation more exciting.  Get creative!  When I presented this fancy dessert, it definitely made a great impression.  Seriously, doesn’t this picture make you want to dig in?  If you answered yes, then hold on….because they aren’t even finished yet!

But first, check out some of these fun serving ideas…

This post and its photos may contain affiliate links. As an Amazon associate I earn from qualifying purchases. If you make a purchase through these links, I may receive a small commission at no extra cost to you!

Use some footed dessert bowls like these…

These are so beautiful with the scalloped edges…

Step 1 – Cake Ingredients ~

  • 1 Cup Coca-Cola
  • 1/2 Cup Cooking Oil
  • 1 Stick Butter
  • 3 Tbsp. Cocoa
  • 2 Cup Sugar
  • 2 Cup Flour
  • 1/2 tsp. Salt
  • 2 Eggs
  • 1/2 Cup Buttermilk
  • 1 tsp. Baking Soda
  • 1 tsp. Vanilla

Baking Directions ~

Preheat oven to 350°.  Prepare a 9″ X 13″ cake pan with cooking spray.

Combine sugar, flour and salt in large mixing bowl and set aside.  In a saucepan, mix Coke, cooking oil, butter and cocoa.  Bring this mixture to a boil.  Pour the Coke mixture over the flour mixture and beat well.  Add eggs, buttermilk, baking soda and vanilla and combine thoroughly.

Pour cake mixture into 9 X 13 pan and bake for 20 to 25 minutes.  (Insert a toothpick to check for doneness)

*** TIP ~

Substitute vinegar and milk for buttermilk if you do not have buttermilk on hand.  Put 1/2 Tbsp. white vinegar in measuring cup and then pour 1/2 cup milk on top of it.  Mix and let sit a minute.

*** TIP ~

If you do not want to make the cake from scratch, you can use a chocolate cake mix instead.  Use the following ingredients for this easier method:

  • 1 Box Chocolate Cake Mix
  • 1/2 Cup Vegetable Oil
  • 3 Large Eggs
  • 1 Cup Coke

Mix thoroughly and bake for 25 minutes.  Insert toothpick to check for doneness.

Step 2 – Instructions After Baking ~

Whichever cake method you choose to use, let it cool completely after baking.  Set your desired serving dishes out for easier preparation.  Cut the cake into 1″ cubes and place 4 to 6 cubes into each glass, depending on the size of the serveware you are using.

Step 3 – Cream Cheese Frosting Ingredients ~

  • 8 oz. Cream Cheese – Softened
  • 6 Tbsp. Butter – Softened
  • 3 3/4 Cup Heavy Cream
  • 3 Tbsp. Rum
  • 1 tsp. Vanilla
  • Caramel Syrup
  • Pinch Kosher Salt

Step 4 – Cream Cheese Frosting Directions ~

Beat cream cheese, buter and sugar in Kitchen Aid stand mixer or in large bowl with hand mixer until fluffy.  Add cream, rum, vanilla and salt.  Beat until a stiff peak forms.

Step 5 – Layering Frosting on Rum & Coke Mini Desserts ~

Place a heaping tablespoon or two (depending on size of serving dish) of cream cheese rum frosting on top of chocolate squares.  Repeat with another layer of chocolate squares and frosting.  *If you are making these yummy desserts ahead of time, place in refrigerator at this point.

Step 6 – Final Steps ~

Drizzle caramel syrup over top of each dessert and then top with mini bottle (1.7 ounces) of your favorite rum.  Please note, you may not want to use the entire bottle of rum if the glass is a smaller size (like martini glass pictured in this article).  If the rum is too excessive, it will overpower the delicious flavor of all the ingredients.  Therefore, I chose to keep the lid on the mini bottle and let each person add to their desired taste.

********************************************************************************************************************

*** NOTE ***

If you want to make you Coca Cola cake “family friendly,” top it with this fudgey icing instead:

  • 1 stick butter
  • 2 1/3 Tbsp. cocoa
  • 6 Tbsp. milk
  • 1 tsp. vanilla
  • 3 3/4 cup powdered sugar

In a saucepan, cook butter, cocoa and milk until butter melts.  Add in remaining ingredients and beat until thoroughly mixed.  Spread on cake.

******************************************************************************************************************

Don’t Forget to Save/Pin this Recipe!!!

I kid you not, this rum and Coke mini dessert recipe is one you want to add to your recipe favorites.  In fact, be sure to pin this on your Pinterest board as well for easy access!


Mouthwatering Apple Strudel Recipe

Imagine for a minute… you are curled up by a cozy fireplace in a warm, fuzzy blanket.  The room is aglow with colorful lights emitted from the Christmas tree.  Suddenly the scents of apple and cinnamon begin to fill the room.  What is that amazing smell?  Then a perfect little pastry is handed to you, and not only is the smell out of this world but it is almost too pretty to eat.  You soon decide that you would forget about how pretty it is and bite into the mouthwatering Apple Strudel recipe that was just shared with you.

Heavenly, delightful, appetizing, delectable and irresistible.  They must have slaved all day long over this dessert that is tantalizing your taste buds.  Nah!  While it looks and tastes amazing….it’s a pretty simple recipe.

Mouthwatering Apple Strudel Recipe ~

Use this link for a printable version of the Mouthwatering Apple Strudel Recipe

Step by Step Instructions ~

Step 1 ~

Preheat oven to 375 degrees.  Either line a baking sheet with parchment paper or spray with cooking spray.

*TIP* – You will definitely want to use a baking sheet with raised sides…otherwise, you will be very unhappy when you have to clean your oven (*voice of experience speaking to you here 🙄)

Step 2 ~

Spread Wewalka puff pastry sheet evenly out on baking sheet and set aside.

*TIP* – I have used the frozen Pepperidge Farm puff pastry sheets in the past, which are wonderful.  However, I just discovered these refrigerated Wewalka puff pastry sheets and they are so much easier since you do not have to spend time thawing them out!

Step 3 ~

Peel, core and thinly slice apples.  I use my apple peeler, corer, slicer from Pampered Chef.  I have had this tool for years and I absolutely LOVE it! LOVE LOVE LOVE this Pampered Chef Apple Peeler Corer Slicer!!!

There are different versions of the apple peeler, corer, slicer out there and I have read many reviews.  Some have the suction cup base, which seems nice if you don’t have a countertop with a ledge to attach the clamp version.  However, you need to pay attention to the reviews of the ones that don’t hold the suction very well.  Speaking from experience, I am a BIG fan of the Pampered Chef version.  I just attach it directly to my counter top and have those babies peeled in a matter of minutes!

Step 4 ~

In a large mixing bowl, combine the sliced apples, lemon juice, vanilla, brown sugar, cinnamon and flour.   Once the apples are evenly coated, spread the mixture lengthwise down the puff pastry sheet.

*TIP* – I would use a slotted spoon and not get all of the juice that you see in the above picture.  The apples will create more natural juice as they are cooking, which will still leave you with a very juicy apple strudel.  We made a second one with less of the juice and it turned out perfectly!

Step 5 ~

Next, cut one inch sections along both sides of the pastry sheet.  We found that 11 strips made a good number of sections for braiding the dough.  Start taking every other section and pull up and over the apple mixture in a braided fashion.

Step 6 ~

Whisk the egg in a small bowl until frothy.  With a pastry brush, cover the top of the mouthwatering apple strudel with the egg wash.  Then sprinkle evenly with the cinnamon sugar mixture.

Step 7 ~

Bake at 375 degrees for 25 to 30 minutes or until golden brown.

Seriously!!!  Isn’t your mouth watering right  now?  You guys, this is truly such an easy recipe that there is NO reason for not making this mouth watering Apple Strudel Recipe for your family!  Of course, it was even better when we had it last week because Karleigh and I got some good mother-daughter baking time together.  Priceless!  Add it to your list of recipes for December.  This would be a great dessert or perfect with that Christmas morning coffee!!!


Pineapple Upside Down Cake – Family Recipe


I am sharing with you our family recipe for Pineapple Upside Down Cake.  It’s not much different than many recipes I have seen over the years.  However, there are a couple of different ingredients that make this cake FANTASTIC!  Seriously, loved by everyone who eats it!  My own son always states, “How is it that I don’t really care for pineapple, yet I LOVE this cake?!”

Step by Step Instructions~With pictures:

The directions in recipe format are included below, but I wanted to share step by step pictures.  I think making a pineapple upside down cake for the first time (or if you don’t make it very often) can be a very intimidating recipe.  It actually is much easier than most people think!

Start out preheating your oven to 350 degrees.  Put a stick of butter in your 9 X 13 pan.  Put in oven (you can do this while preheating) to melt.

While the butter is melting, I open the can of pineapple slices and strain over a bowl to reserve the juice for later.  Let that sit while you are completing the next steps so it has time to drain sufficiently.

When the butter is completely melted, remove it from the oven.

Next, pour the brown sugar evenly over the melted butter.  The recipe calls for about 1 1/2 cups of brown sugar.  I play with this a little.  I tend to use a bit more to make a thicker topping.


Now you will add the pineapple slices on top of the brown sugar mixture.  If you want the cake to look more uniform, I would suggest using six pineapple slices.  When making it just for my family I go ahead and cut the other slices in half to add them to the cake as well (this just doesn’t look as pretty if you do this, but gives your more pineapple.)

After placing the pineapple rings on the mixture, open the can of crushed pineapples and strain them over the same bowl.  Once again, you are reserving this juice for later in the recipe.

While the crushed pineapple is draining, you will want to place cherries in the middle of the rings.  ***Remember to place the cherries upside down so that when you turn the cake over it will look prettier to see the tops of the cherries.

Now it is time to add the crushed pineapple in all of the areas that are still exposed with the brown sugar and butter mixture.

Next you will blend the cake mix.  (you can start this step earlier if you wish to have it blending while you are working on the topping.  This will just depend on what method you use for mixing.)  When I first started making this recipe (which was handed down by mom–which was handed down by her mom….you get the picture), I did not have a mixer.  Thus, when I first began I followed the recipe directions in this order.

I use a yellow cake mix.  You can make it from scratch, but seriously, you do not need to.  If you follow these next steps, you will have a very moist cake that tastes delicious!

Follow the instructions on the back of the cake box  ***EXCEPT***, substitute the reserved pineapple juice in place of the water.  I laugh at this point, because my first time making pineapple upside down cake was a disaster.  My mother told me to substitute the pineapple juice … so I did.  However, I substituted it for the oil….not a good turnout!   You still need oil!!!


After blending according to the directions on the box, you will layer the cake mix over the topping mixture.

Once you have poured all of the cake batter over the topping, you will bake at 350 degrees for 35-50 minutes.  I understand that this is a very large amount of a time gap for baking.  I initially set the timer for 35 minutes.  This cake always takes longer than a simple cake mix.  I then check it at 35 minutes (with the toothpick test) and then reset the timer at 5 minute intervals.  PLEASE DON’T FORGET TO SET YOUR TIME EACH TIME YOU RESET!  You have put a lot of work into this cake, so be careful to continue setting the timer.

Once the cake is done baking, remove from oven and let cool for about 5 minutes.  While it is cooling, you need to get a long cake plate, cookie sheet or large tray in which to invert the cake on.  In my example today, I covered mine in foil, as I was traveling with it and wanted to be able to secure it well for travel.  I prefer to not use a foil liner as it is not as pretty.

When you are ready to turn the cake over, place your large tray over the top of the cake.

Carefully turn the cake over, while holding on to the tray underneath to flip.


Next, you will carefully lift the cake dish from the top of the cake  You may need to let it sit for a minute for all of the topping to drop from the cake pan to the serving dish.  I then use a butter knife to place gently under one edge of the cake pan to help lift the cake pan up and away from the cake.


And there you have it!!!  A wonderful cake that has been a family favorite for years.  It even makes it onto the birthday list many times!

Once you have tried this recipe, let me know how yours turns out!